Imagine you’ve deployed your Lync Front End pool already, but now you’ve decided you want to add some extra dedicated MCU capacity by adding an A/V Conferencing Pool. Given that the A/V Conferencing Server role runs on each Front End server, how do we ensure this gets removed and that the pool starts using the new A/V Conferencing pool when users schedule new audio or video conferences?
This is a pretty straightforward process involving defining the pool in Topology Builder and then running Deployment Wizard on your new A/V Conferencing servers and existing Front End servers.
Defining the A/V Conferencing Pool in Topology Builder
Firstly, you need to define the new A/V Conferencing Pool in your Lync topology. Instructions are available here on TechNet on how to do this. Once you’ve defined the pool, you’ll need to republish the topology using the instructions here.
Installing the A/V Conferencing Servers
Next, you need to log onto each A/V Conferencing Server and go through the usual Lync Server deployment process of installing a replica of the CMS, adding the Lync Server components and assigning certificates. On completion, make sure you start all the Lync services so each server becomes active in the topology.
Updating your Front End servers
Now comes the part that isn’t clearly documented – making sure the MCU components get moved to the A/V Conferencing servers properly.
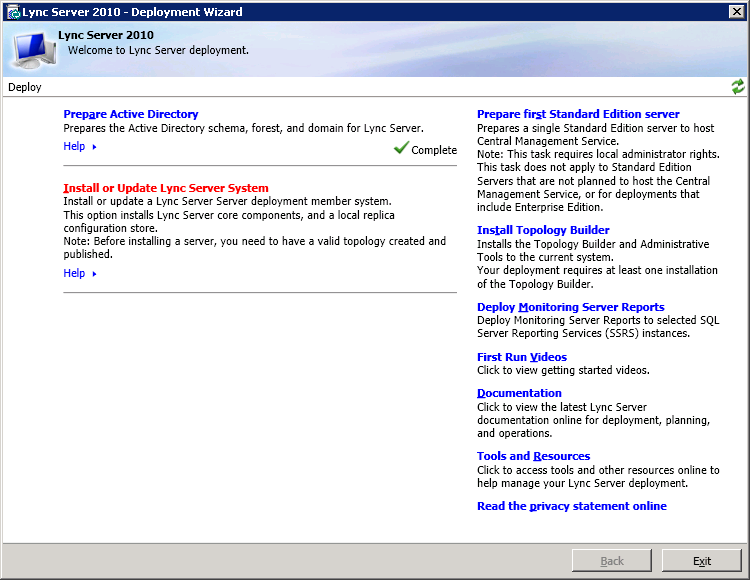
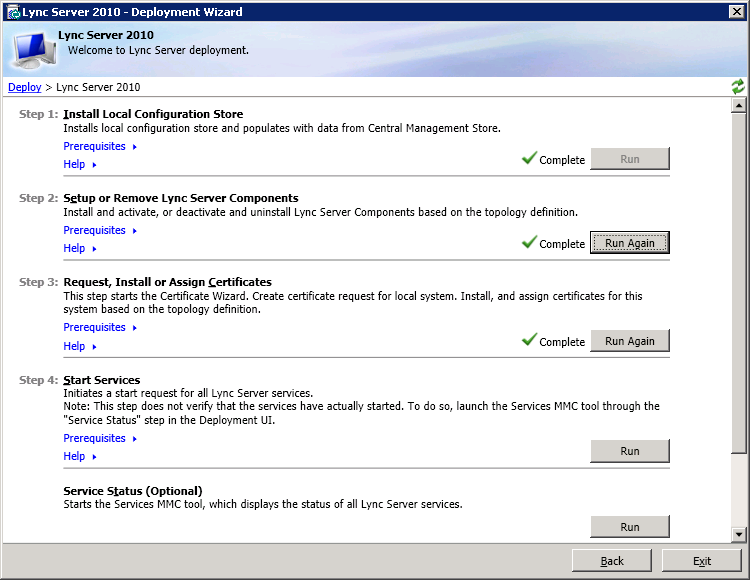
Firstly, log onto each Front End server and run the Deployment Wizard. Click on Install or Update Lync Server System.
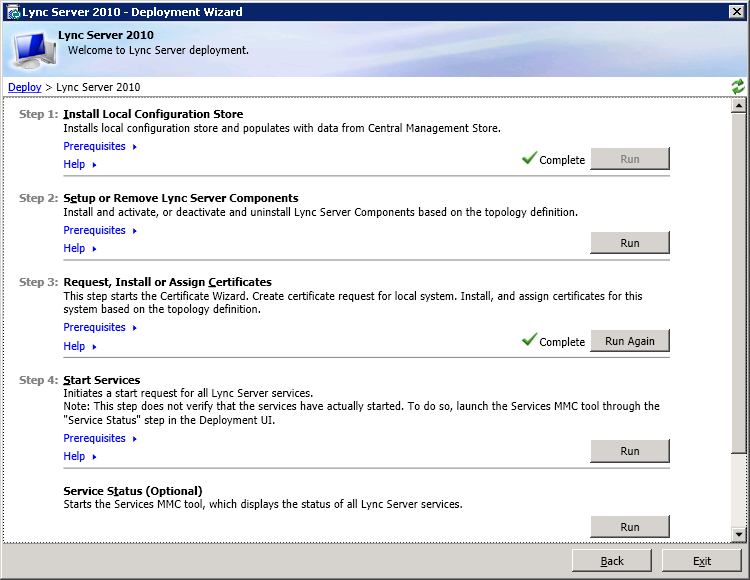
Next, run Step 2: Setup or Remove Lync Server Components (commonly known as bootstrapper).
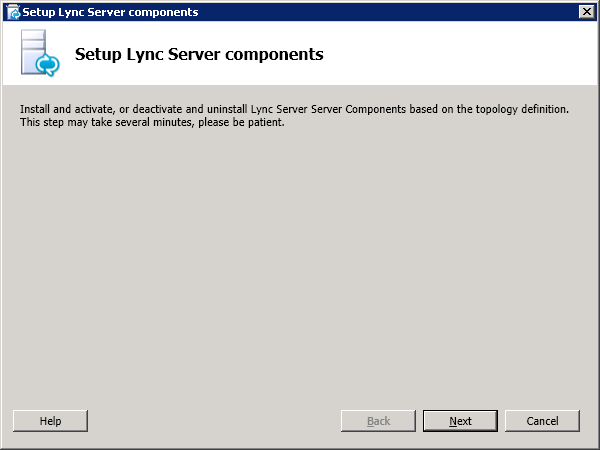
When the Setup Lync Server components dialog appears, click Next.
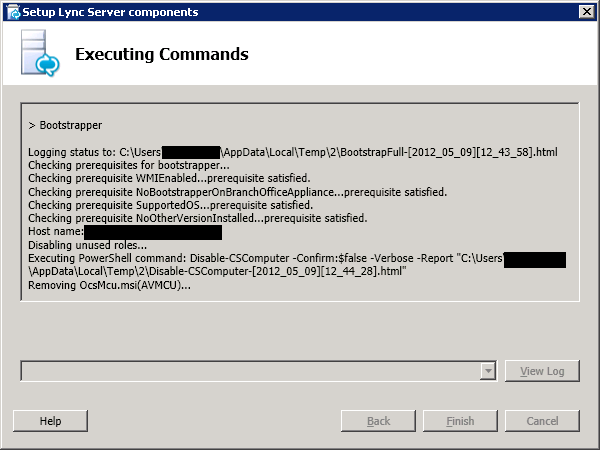
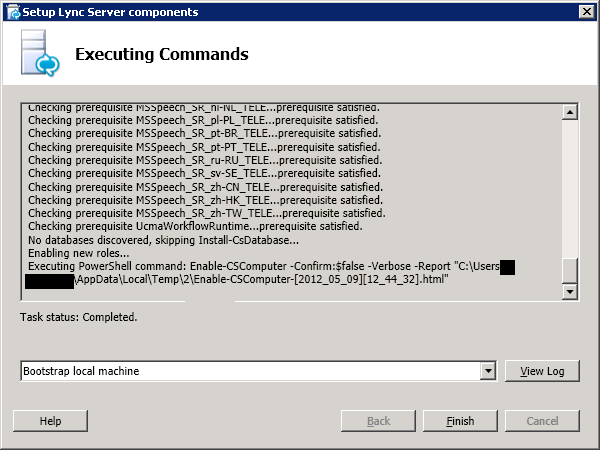
Once Bootstrapper starts running through its commands, you’ll see it run the step Removing OcsMcu.msi (AVMCU) which is it removing the A/V Conferencing Server role from the Front End server. This is because the new A/V Conferencing pool is defined in the Lync topology.
Once Setup is completed, click Finish.
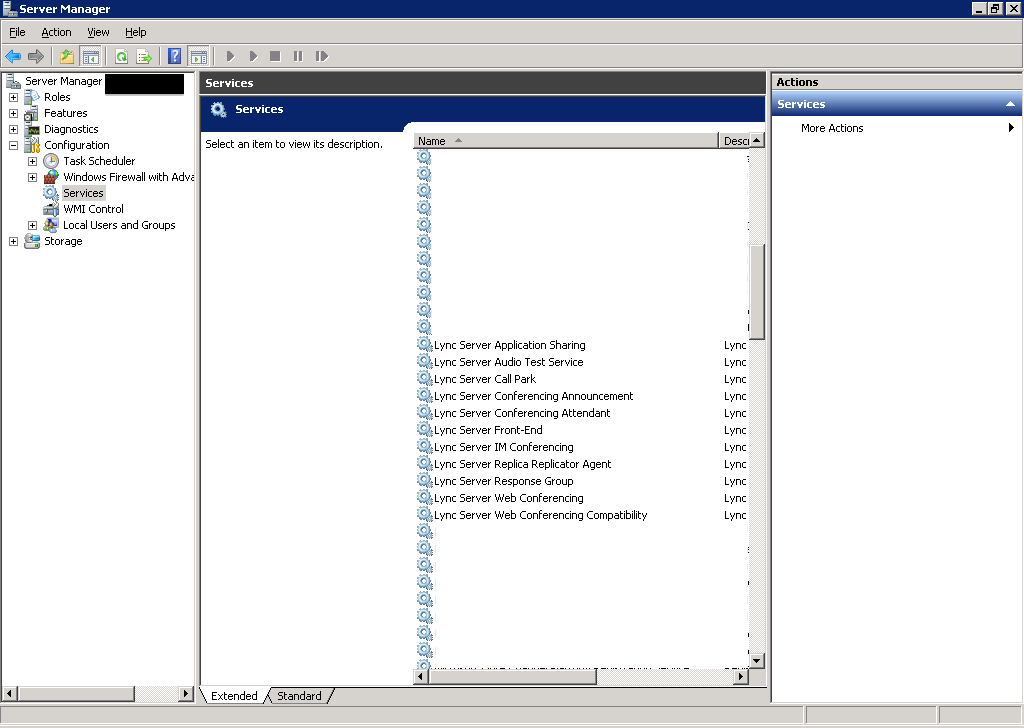
We can see now that Step 2 is marked as complete and we can open the Services snap-in from the bottom to see evidence that AV MCU has been successfully removed.
Et voila! No more Lync Server Audio/Video Conferencing Server on your Front End server!
Conclusion
Hope this helps you understand this process a bit more and how to add this topology component to your Lync Server 2010 environment. I wouldn’t recommend doing this during business hours as it could take down active audio/video conferences on your Front End servers.
Does the A/V Pool name need to have a DNS record that points to each individual A/V server like the LYNC Front End pools do? I came across a LYNC 2010 deployment where there was no DNS record for the A/V pool name but the LYNC certificates found on the individual A/V servers contained a SN and SAN of just the A/V pool name. Although no DNS record for the A/V pool name exists in DNS, I can see that the A/V servers are taking traffic when I run get-cswindowsservice. This has me to belief a DNS record is not needed.